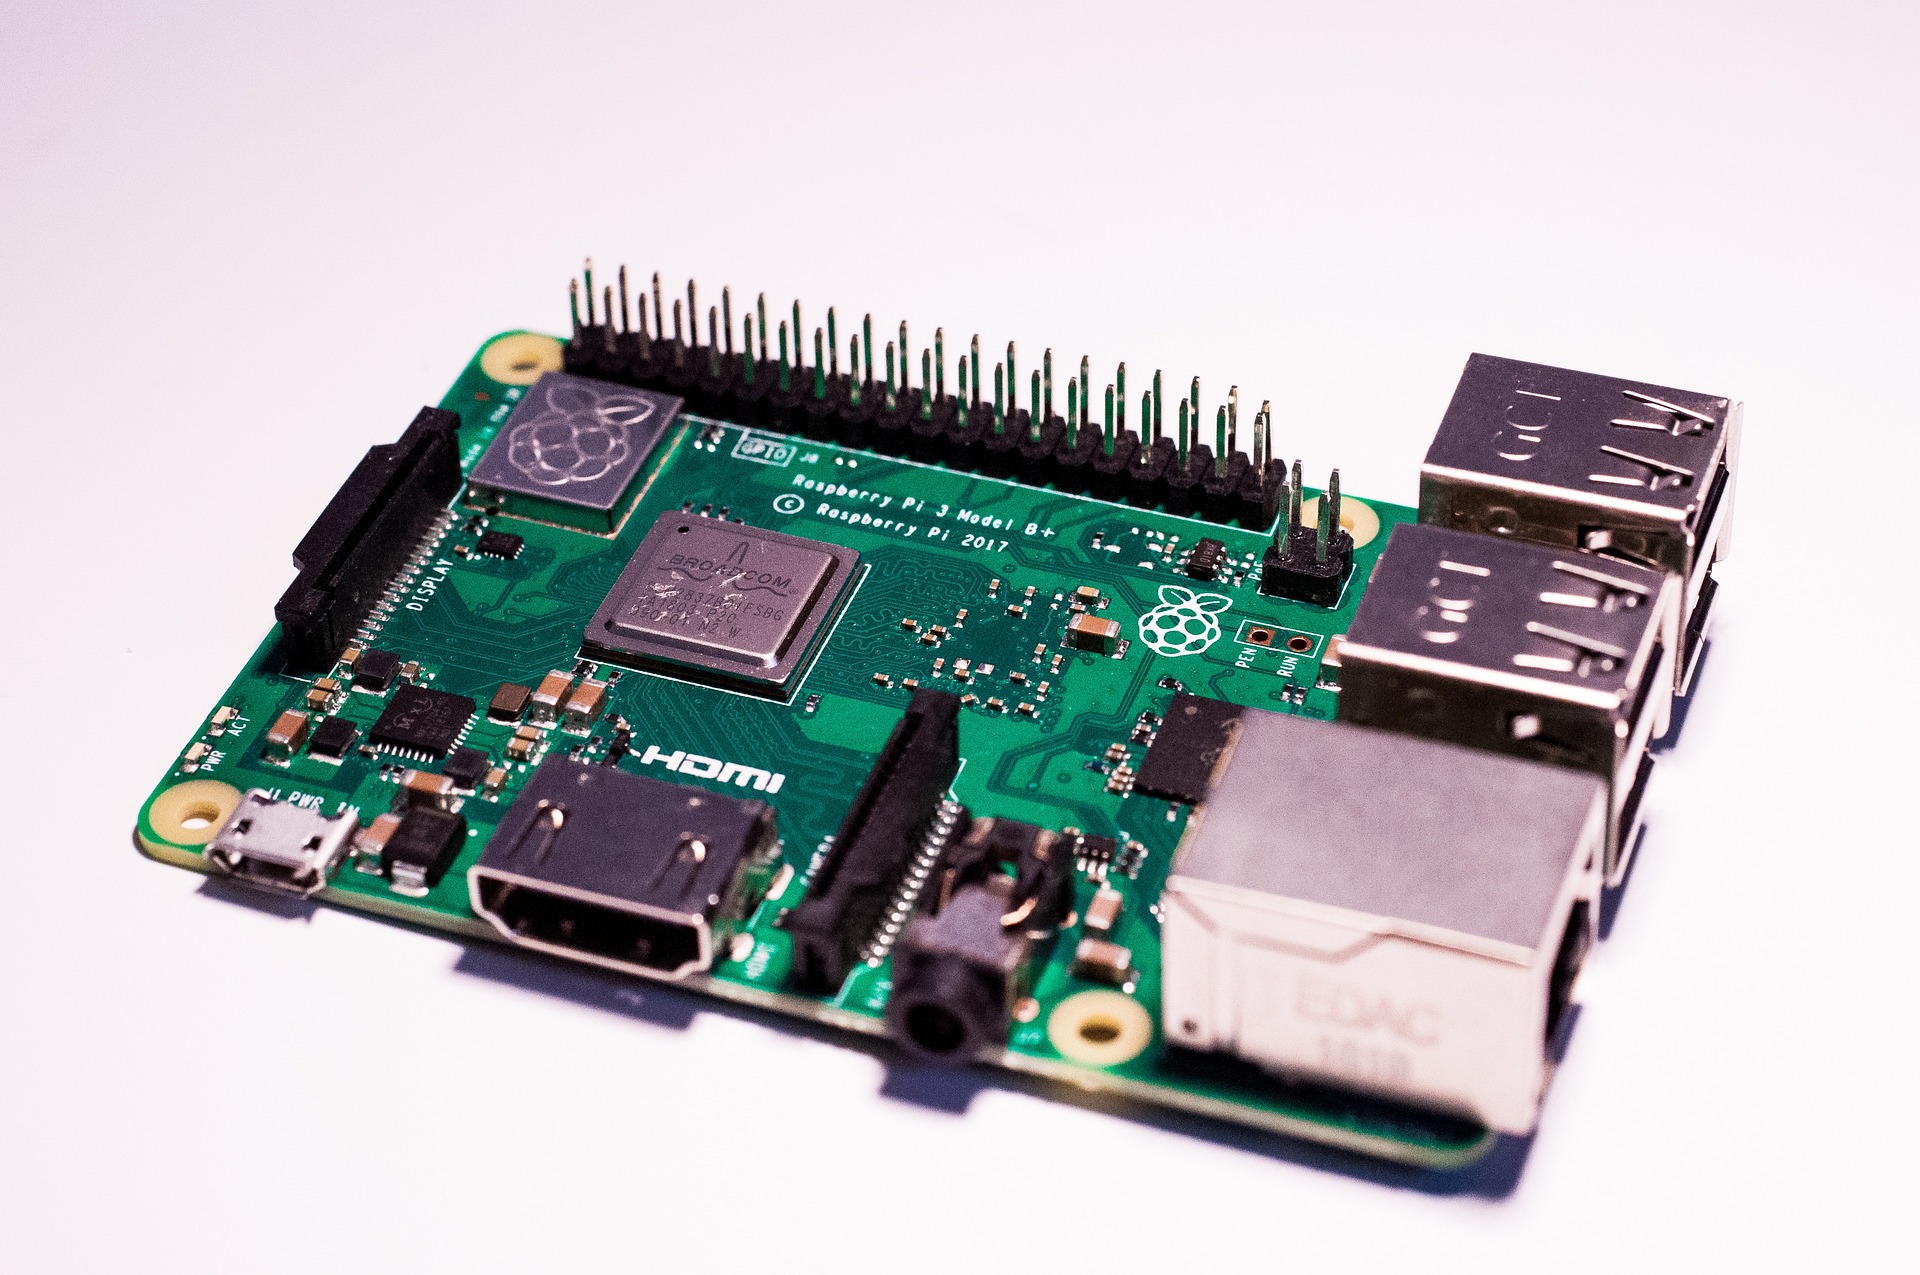
In this tutorial, we demonstrate how easy it is to get started using netFIELD Cloud. As an example, we will onboard a Raspberry Pi to the Hilscher netFIELD Cloud. It takes no longer than 10 minutes to get started (unless you still need to order a Raspberry Pi).
netFIELD Extension for Linux is a lightweight runtime, which can be installed on a standard Linux system to connect an edge device with netFIELD Cloud. Supported Linux distributions are e.g. Ubuntu, Debian, or Raspbian. In this tutorial, we show how to install and configure netFIELD Extension for Linux on a Raspberry Pi running a regular Raspbian Linux distribution.
If you are interested, you can find the installer script for the netFIELD Linux extension in Github at https://github.com/HilscherAutomation/netFIELD-extension-linux . You will also find detailed information and instructions there in a README file. But don't worry - we will go through the necessary steps together in this tutorial. You may just continue reading.
Prerequisites
- You need a Raspberry Pi device, e.g. a Raspberry Pi 3 or Raspberry Pi 4 with a Raspbian OS version 10 or 11. The device needs to be connected to the internet.
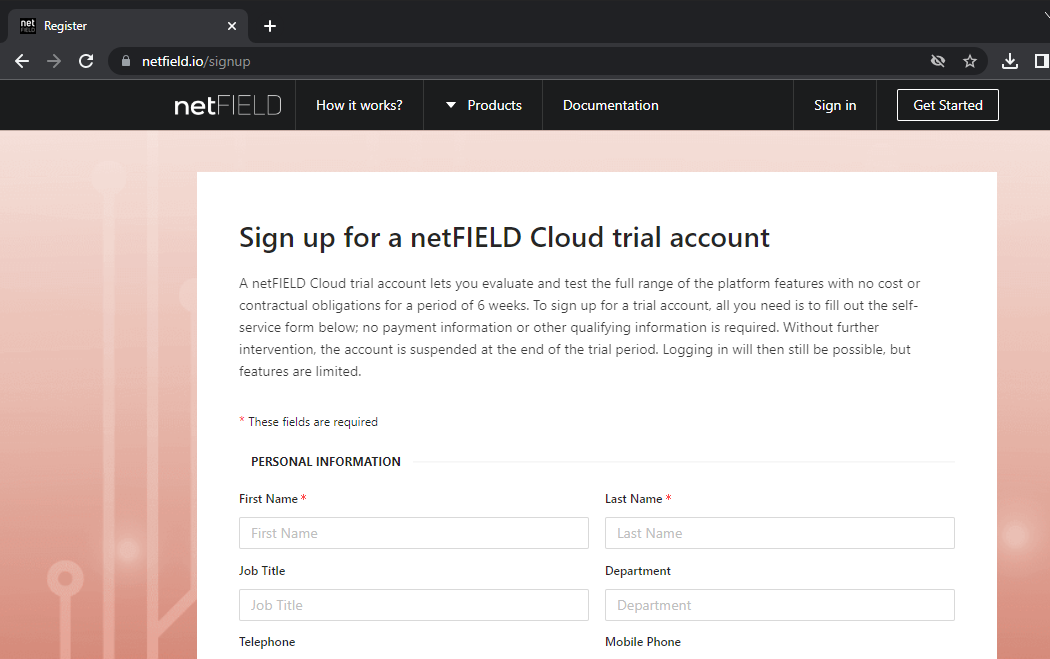
- You need a netFIELD user account. If you don't have one yet, please register a trial account for free at https://netfield.io/
Install the netFIELD Linux extension and onboard your device
Now that you have a clean Raspberry Pi with Raspbian Linux and a netFIELD user account, we can install the netFIELD environment on your Raspberry and onboard the device to https://netfield.io
Follow the following steps to download the installer script:
- Power up your Raspberry Pi and login into the Linux shell
Run the shell command “sudo -i” to switch to the root user
Run the shell command “apt update” to update the package sources list of the package manager to the latest state
Run the shell command "sudo git clone https://github.com/hilschernetiotedge/netFIELD-extension-linux.git" to download the installer script from GitHub
Run the installer script to onboard your Raspberry Pi device
The installer script is now available on your Raspberry Pi device in the folder “netFIELD-extension-linux” of the root user’s home directory.
The installer script can be invoked with two commands: “onboard” and “offboard”. There are two different options for authentication: either authentication with username and password (options “-u <username>” and “-p <password>”) or authentication with an API key (option “-a <apikey>). We will use the installer script with username and password in this example.
Run the following commands to onboard your device to netFIELD Cloud:
Run “cd netFIELD-extension-linux” to switch to the directory that contains the installer script
Run the script to onboard the device (using username and password: "sudo ./netfield-extension-linux-installer.sh -u <username> -p <password> onboard" (please replace the placeholders with your actual username and password in the placeholders)
When you run the installer script for the first time, it downloads and installs some required packages to your device. Afterwards, it establishes a connection to the netfield.io server and onboards your device. You should see a success message in the console.
Congratulations! You have successfully onboarded your first IIoT edge device to netFIELD Cloud!
Now you can start exploring the device management functionality of netFIELD Cloud. For example, you can remotely deploy one of our ready-made app containers to your device. Or you may add your own smart edge application as a container in the Container Manager, and then deploy your app to the device. Have fun!

